
Creating your store on Salla is your first step into e-commerce — and with the simplified setup wizard you can go from an idea to a store ready to receive orders in a single session. This guide takes you through the full setup journey: store information, adding your first product, activating shipping and payments, and choosing a plan, so you can launch your store and receive your first orders with confidence.
Creating the store is one step; being found on Google is another. Once your store is set up, learn how to improve its search visibility and add your products professionally to start earning search traffic.
Before you start: what to prepare
Setup is faster and smoother when you prepare these items in advance:
- Store name and logo: a clear, memorable name and a good-quality logo (both changeable later).
- First product: an image, description and price for at least one product to start with.
- Pickup location: the shipment pickup address for setting shipping options.
- Verification documents: a commercial registration or freelance document — required to launch the store and activate electronic payments, so prepare them early to save time.
Starting to create the store
After creating a new account on Salla, click Start now to begin creating your store.
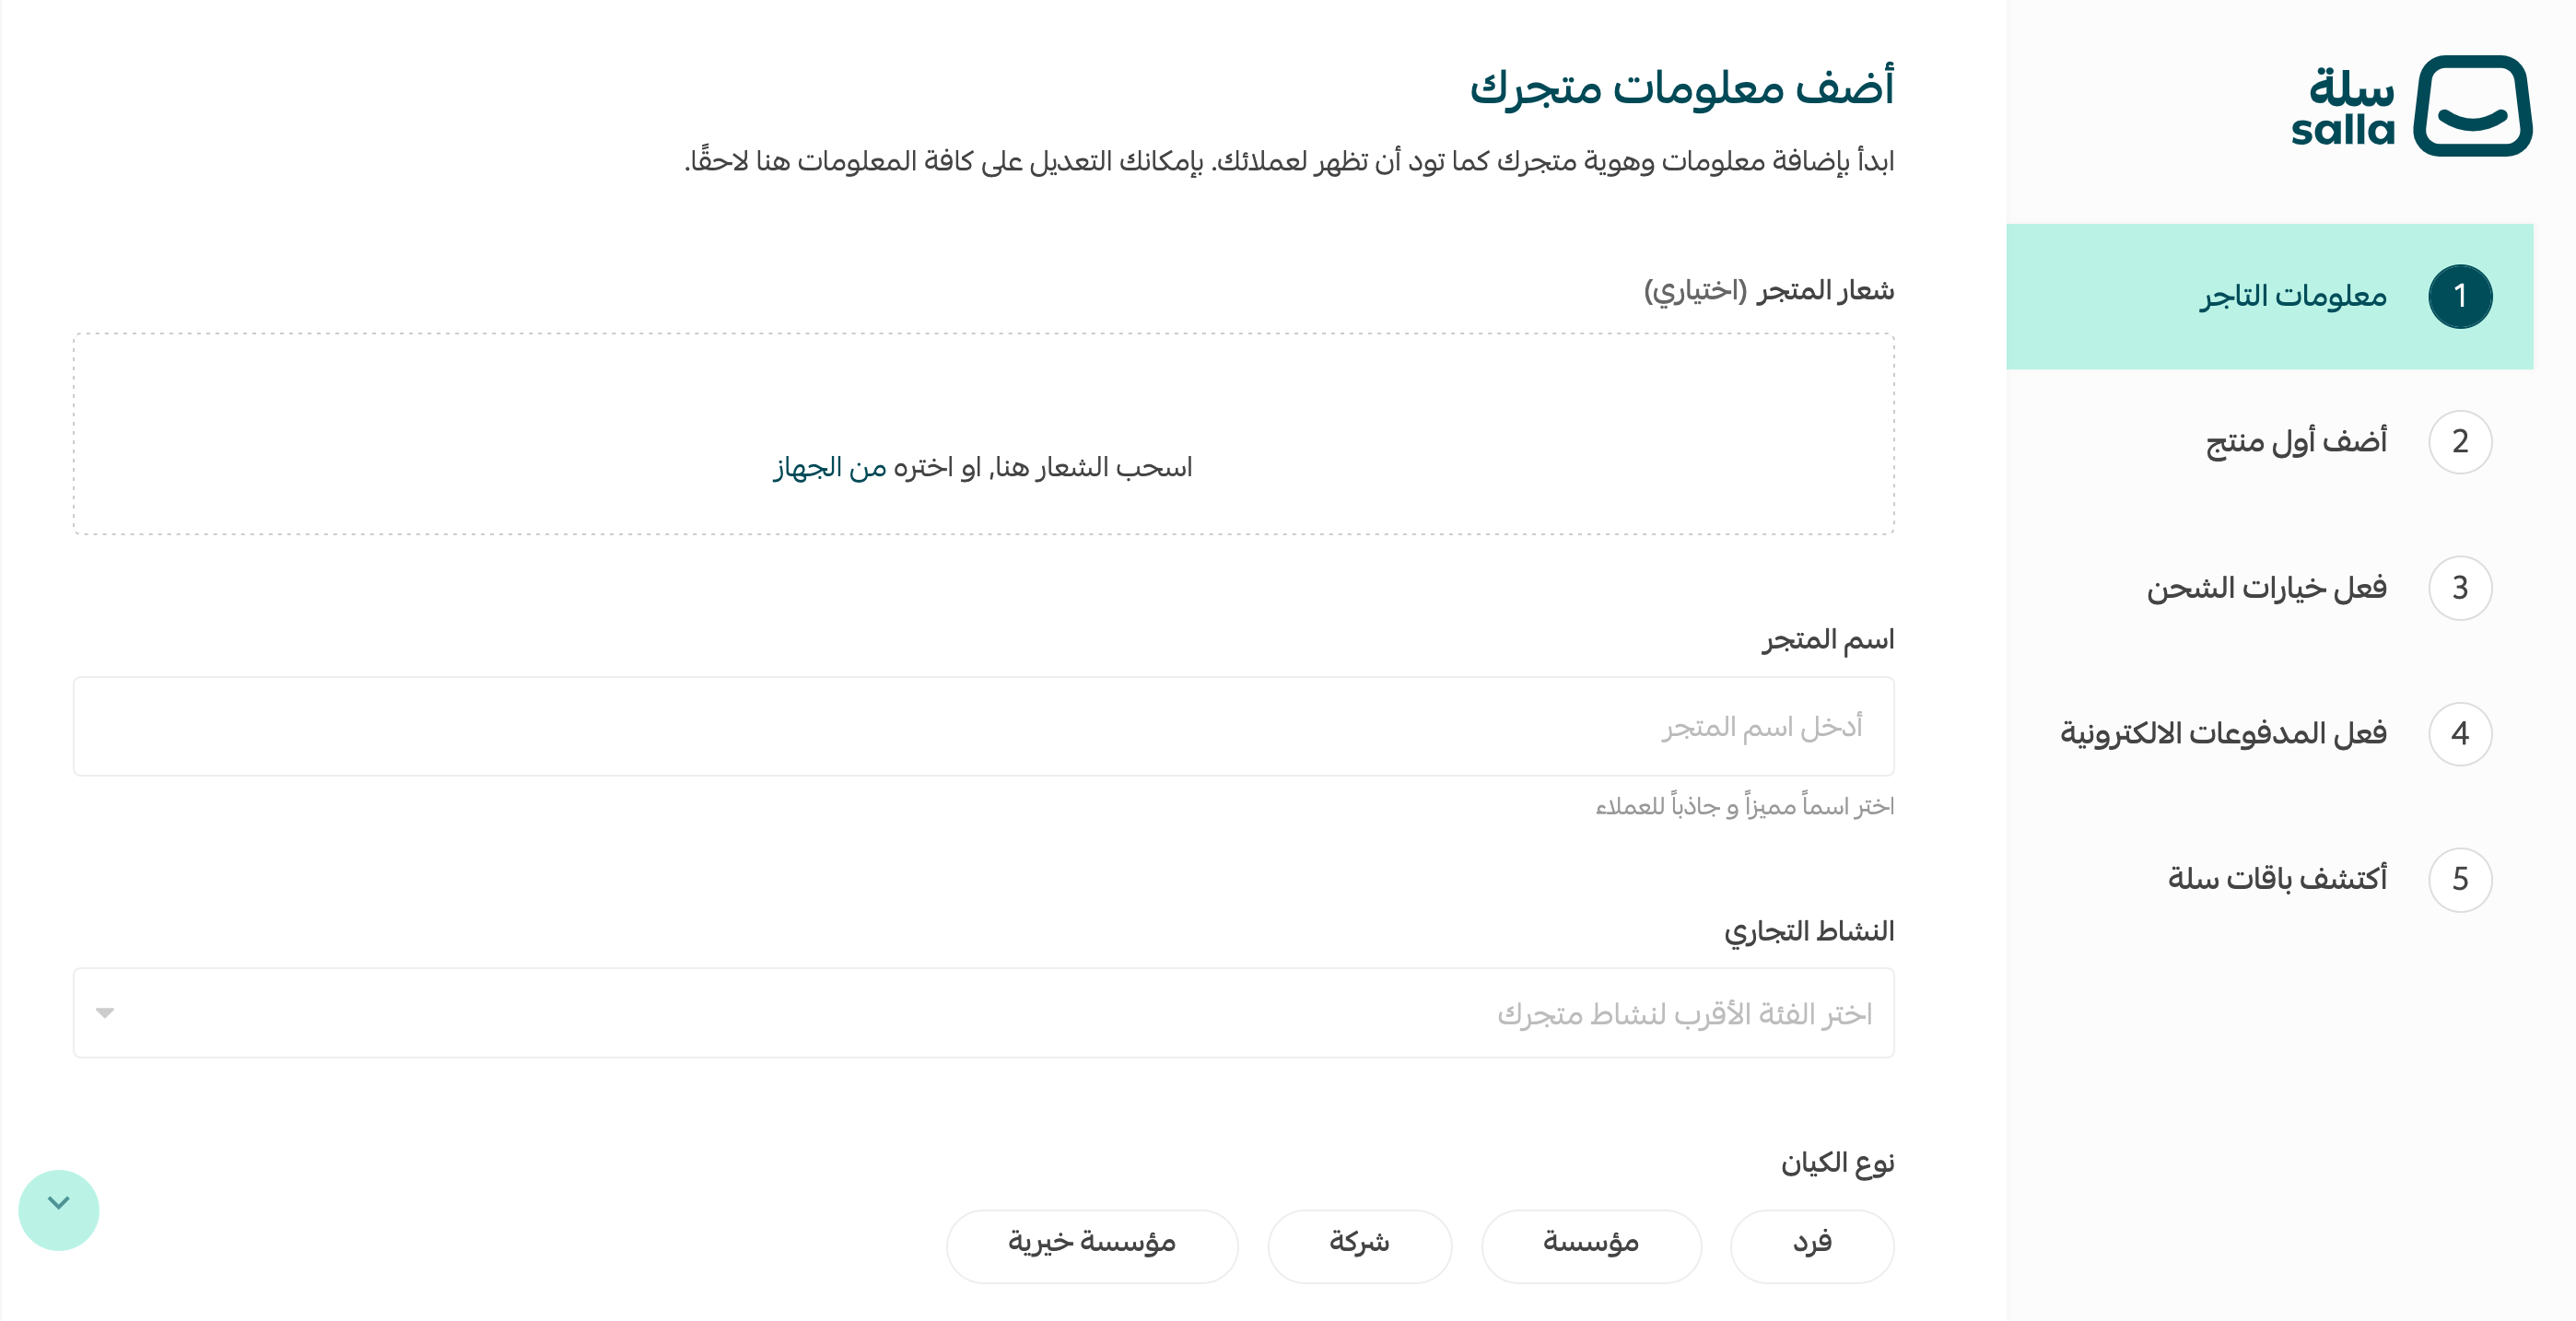
1. Store information
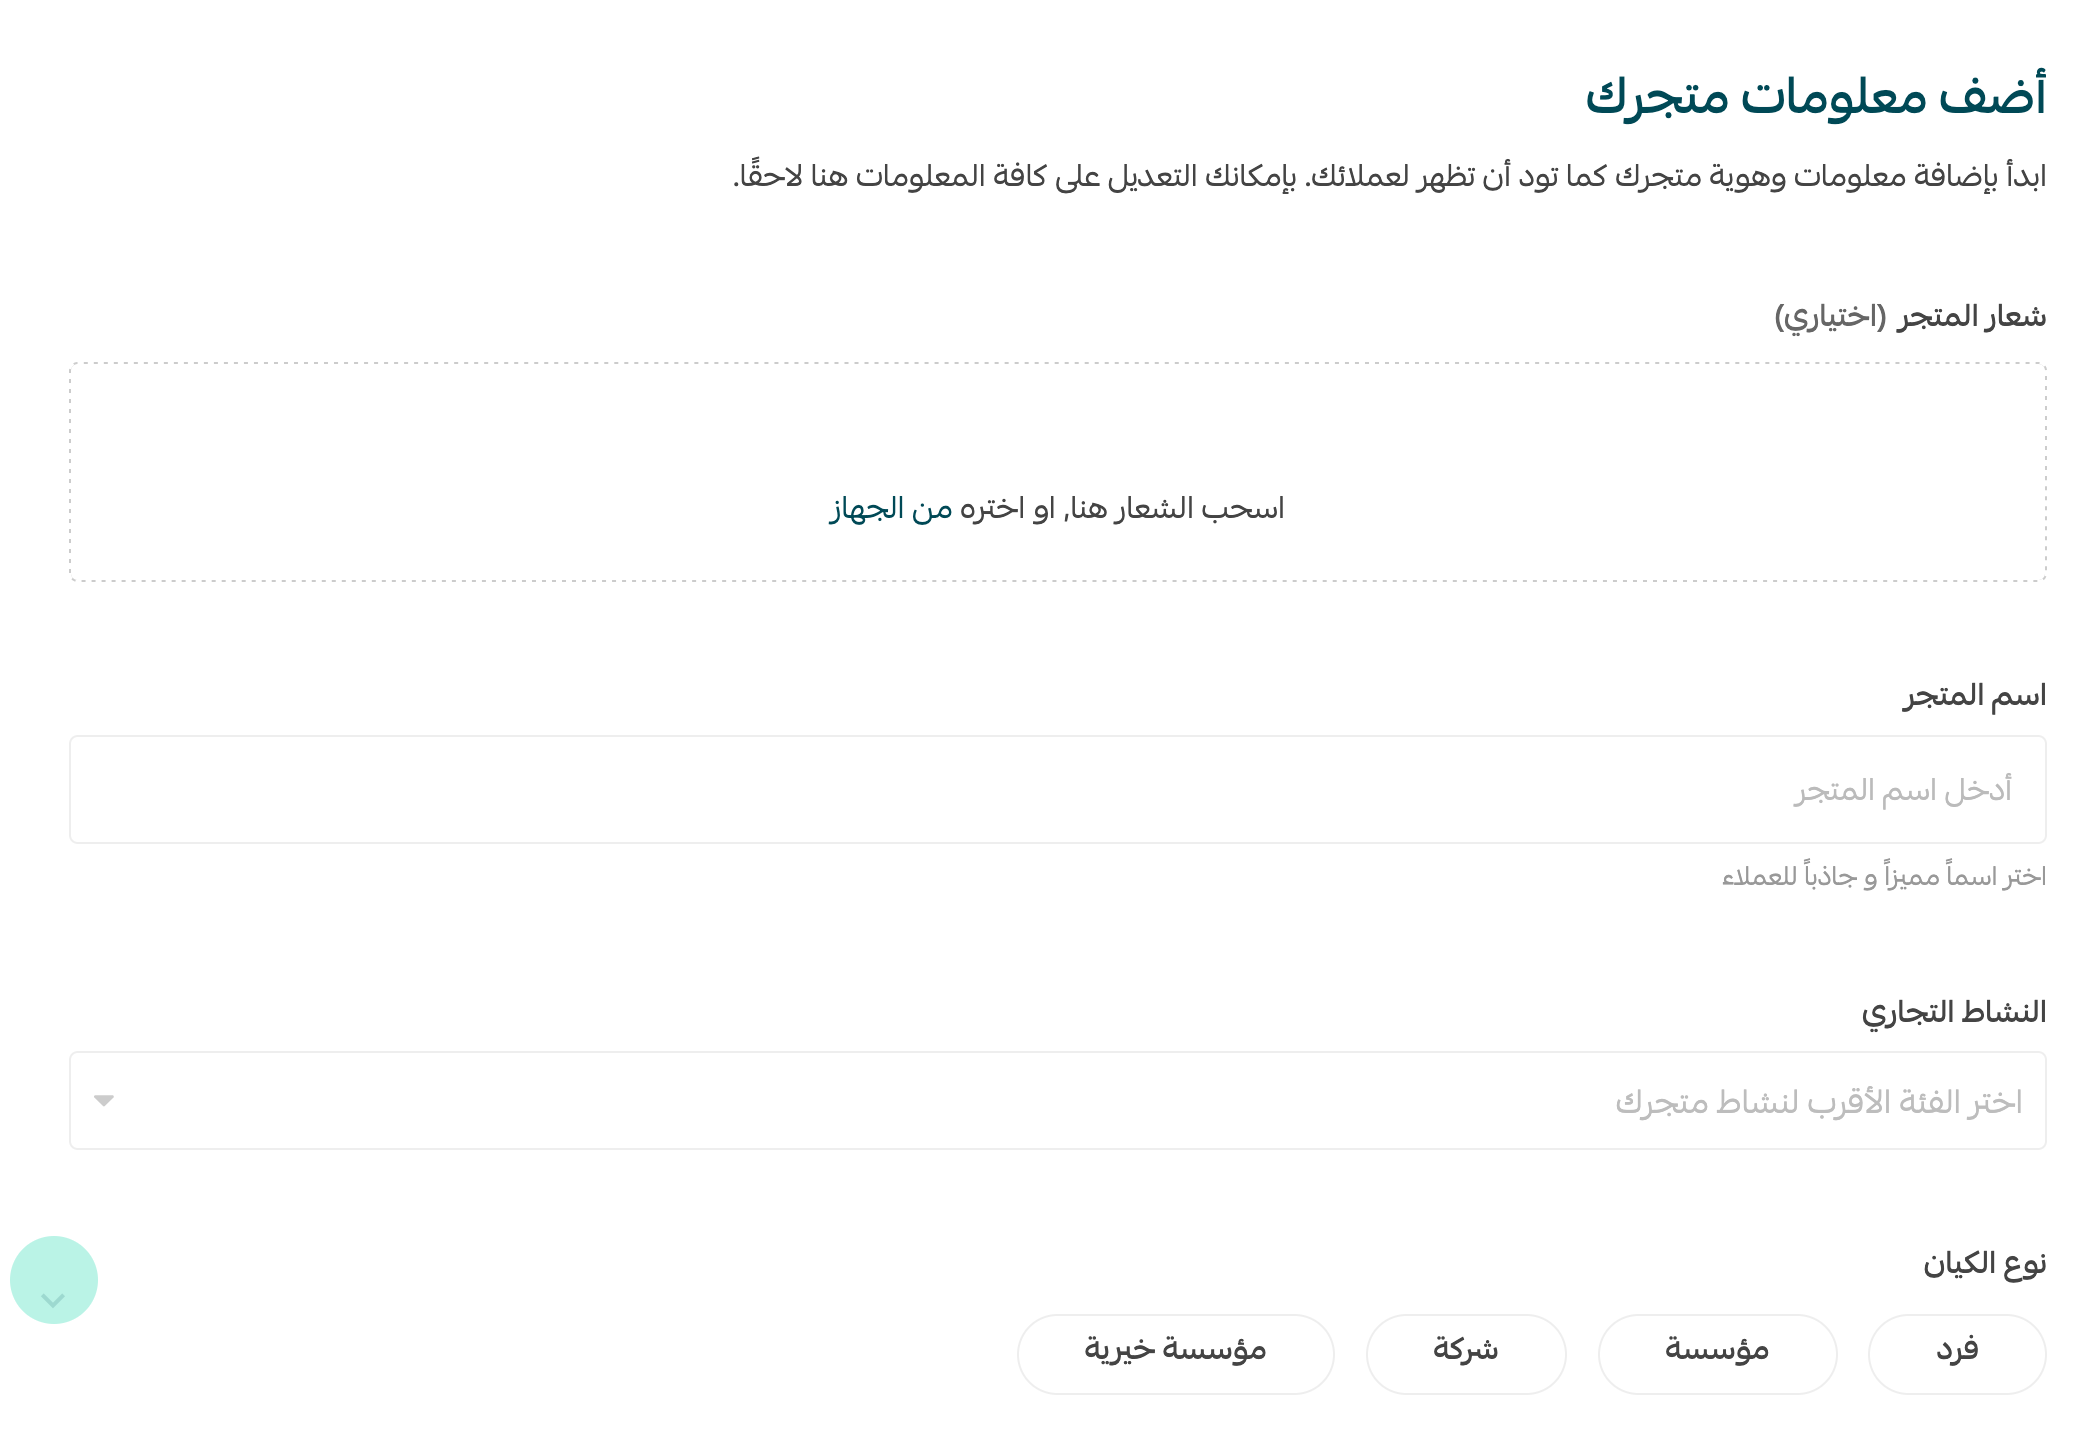
1. Store logo (optional): it shows to customers, and you can change it later after launch.
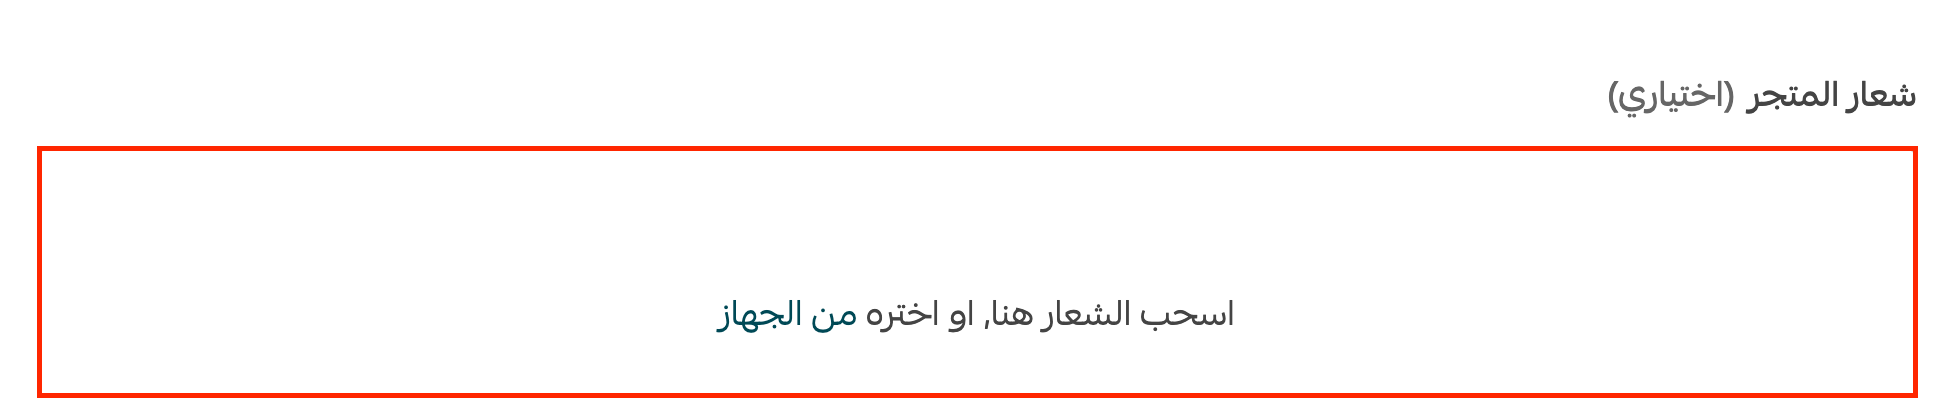
2. Store name: the name shown to customers; your site URL appears below it automatically — and you can change the name and URL at any time after launch.
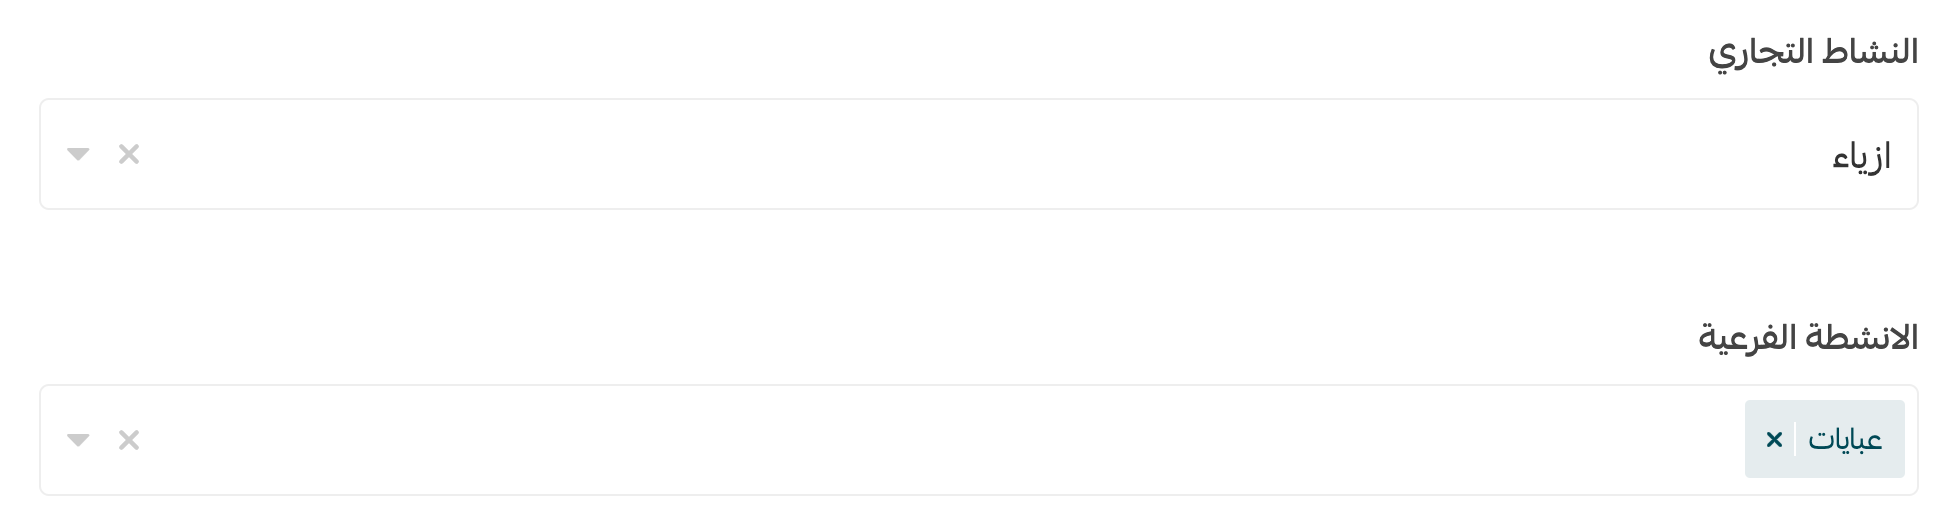
3. Business activity: set your primary and secondary activity.
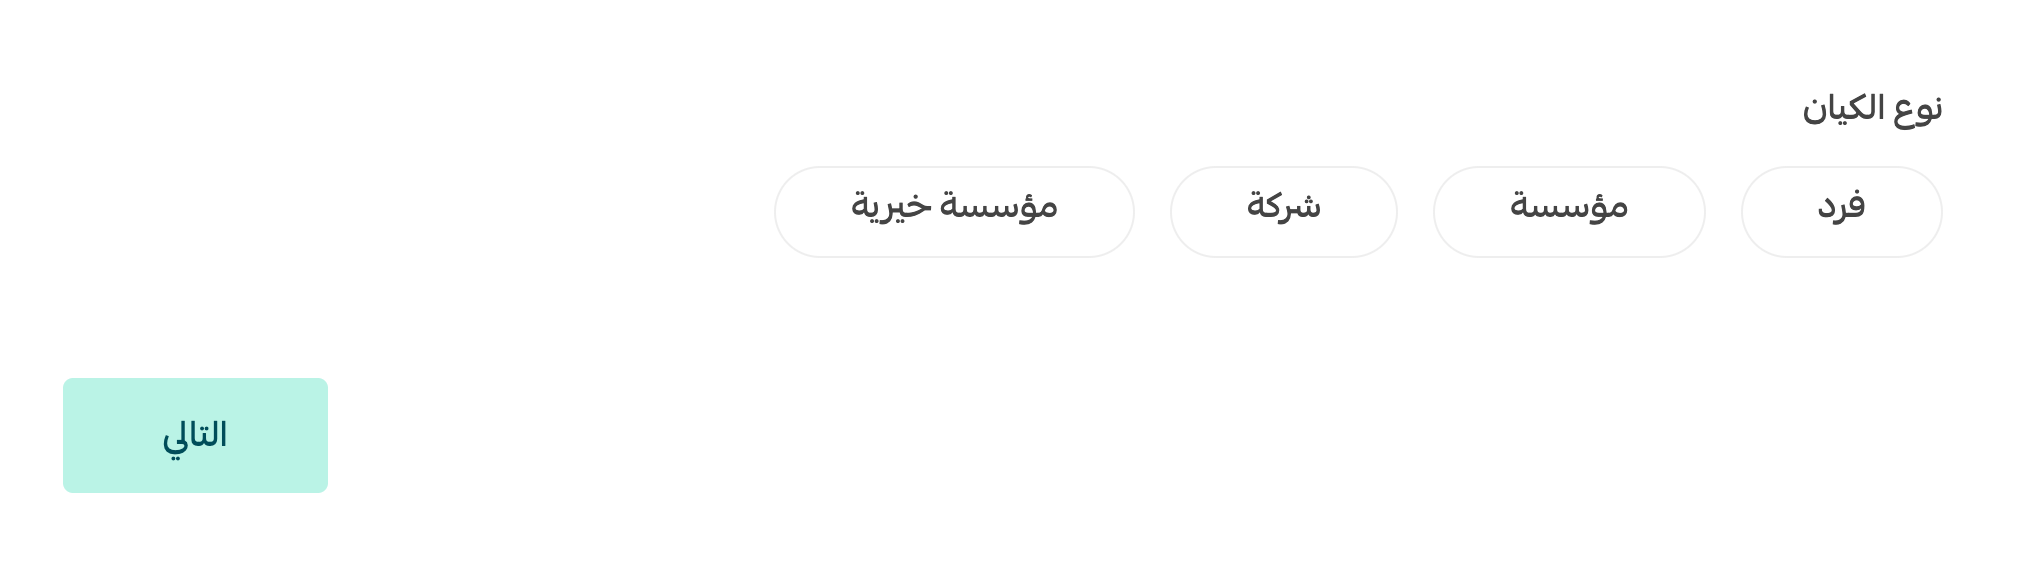
4. Entity type: choose the entity type, then click Next.
Pick a name that's clear, easy to remember and easy to type, ideally hinting at your niche. The URL (domain) is part of your identity and has an SEO impact later — keep it short and expressive.
2. Adding your first product
Add your first product with the type that fits your business (for example, a digital product if you offer digital services), enter the required data, then click Next.
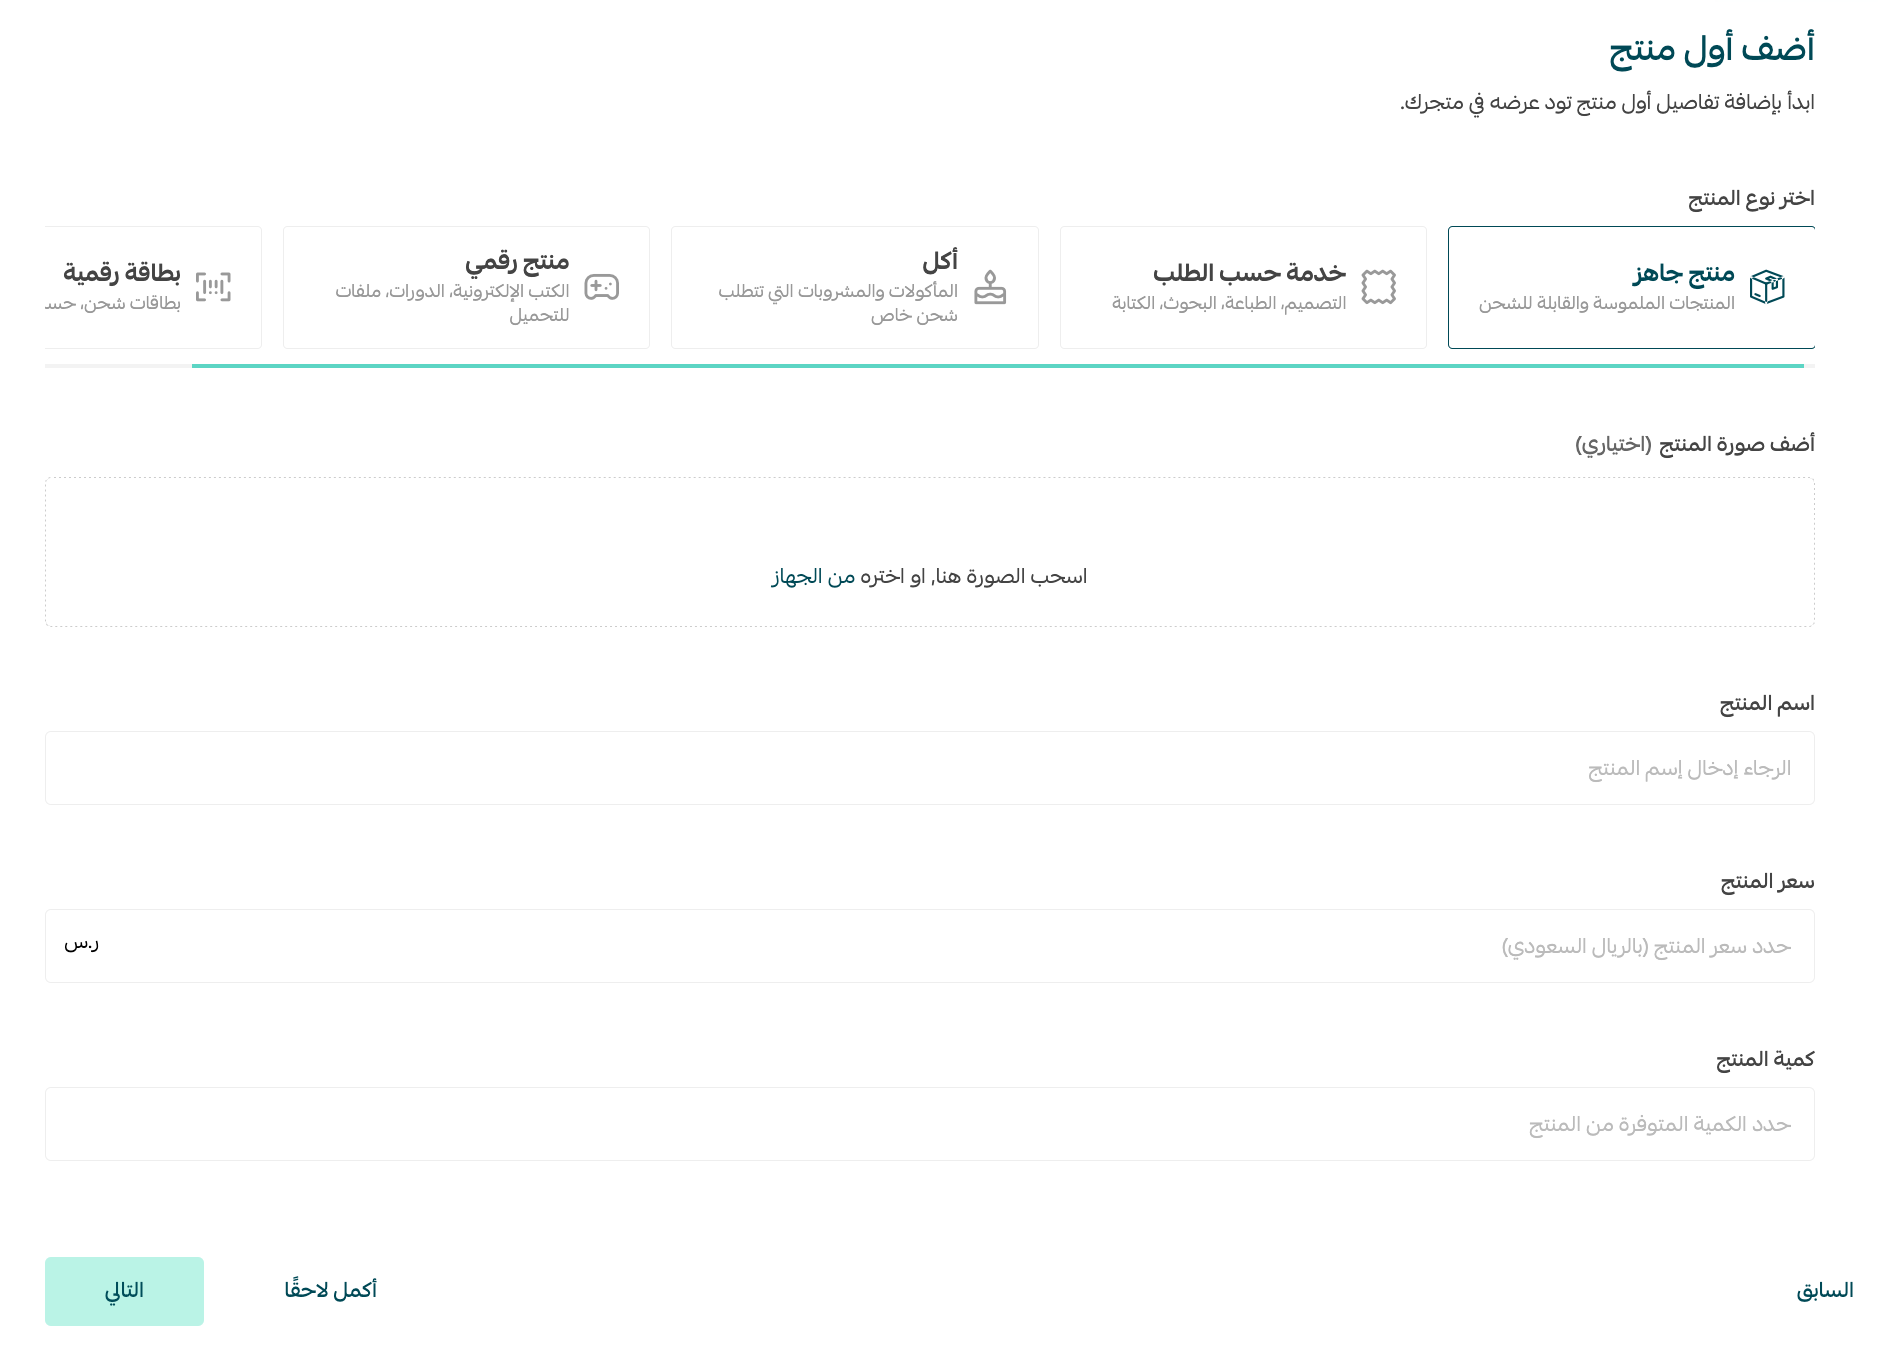
For deeper detail on setting up products, see the add a physical product guide.
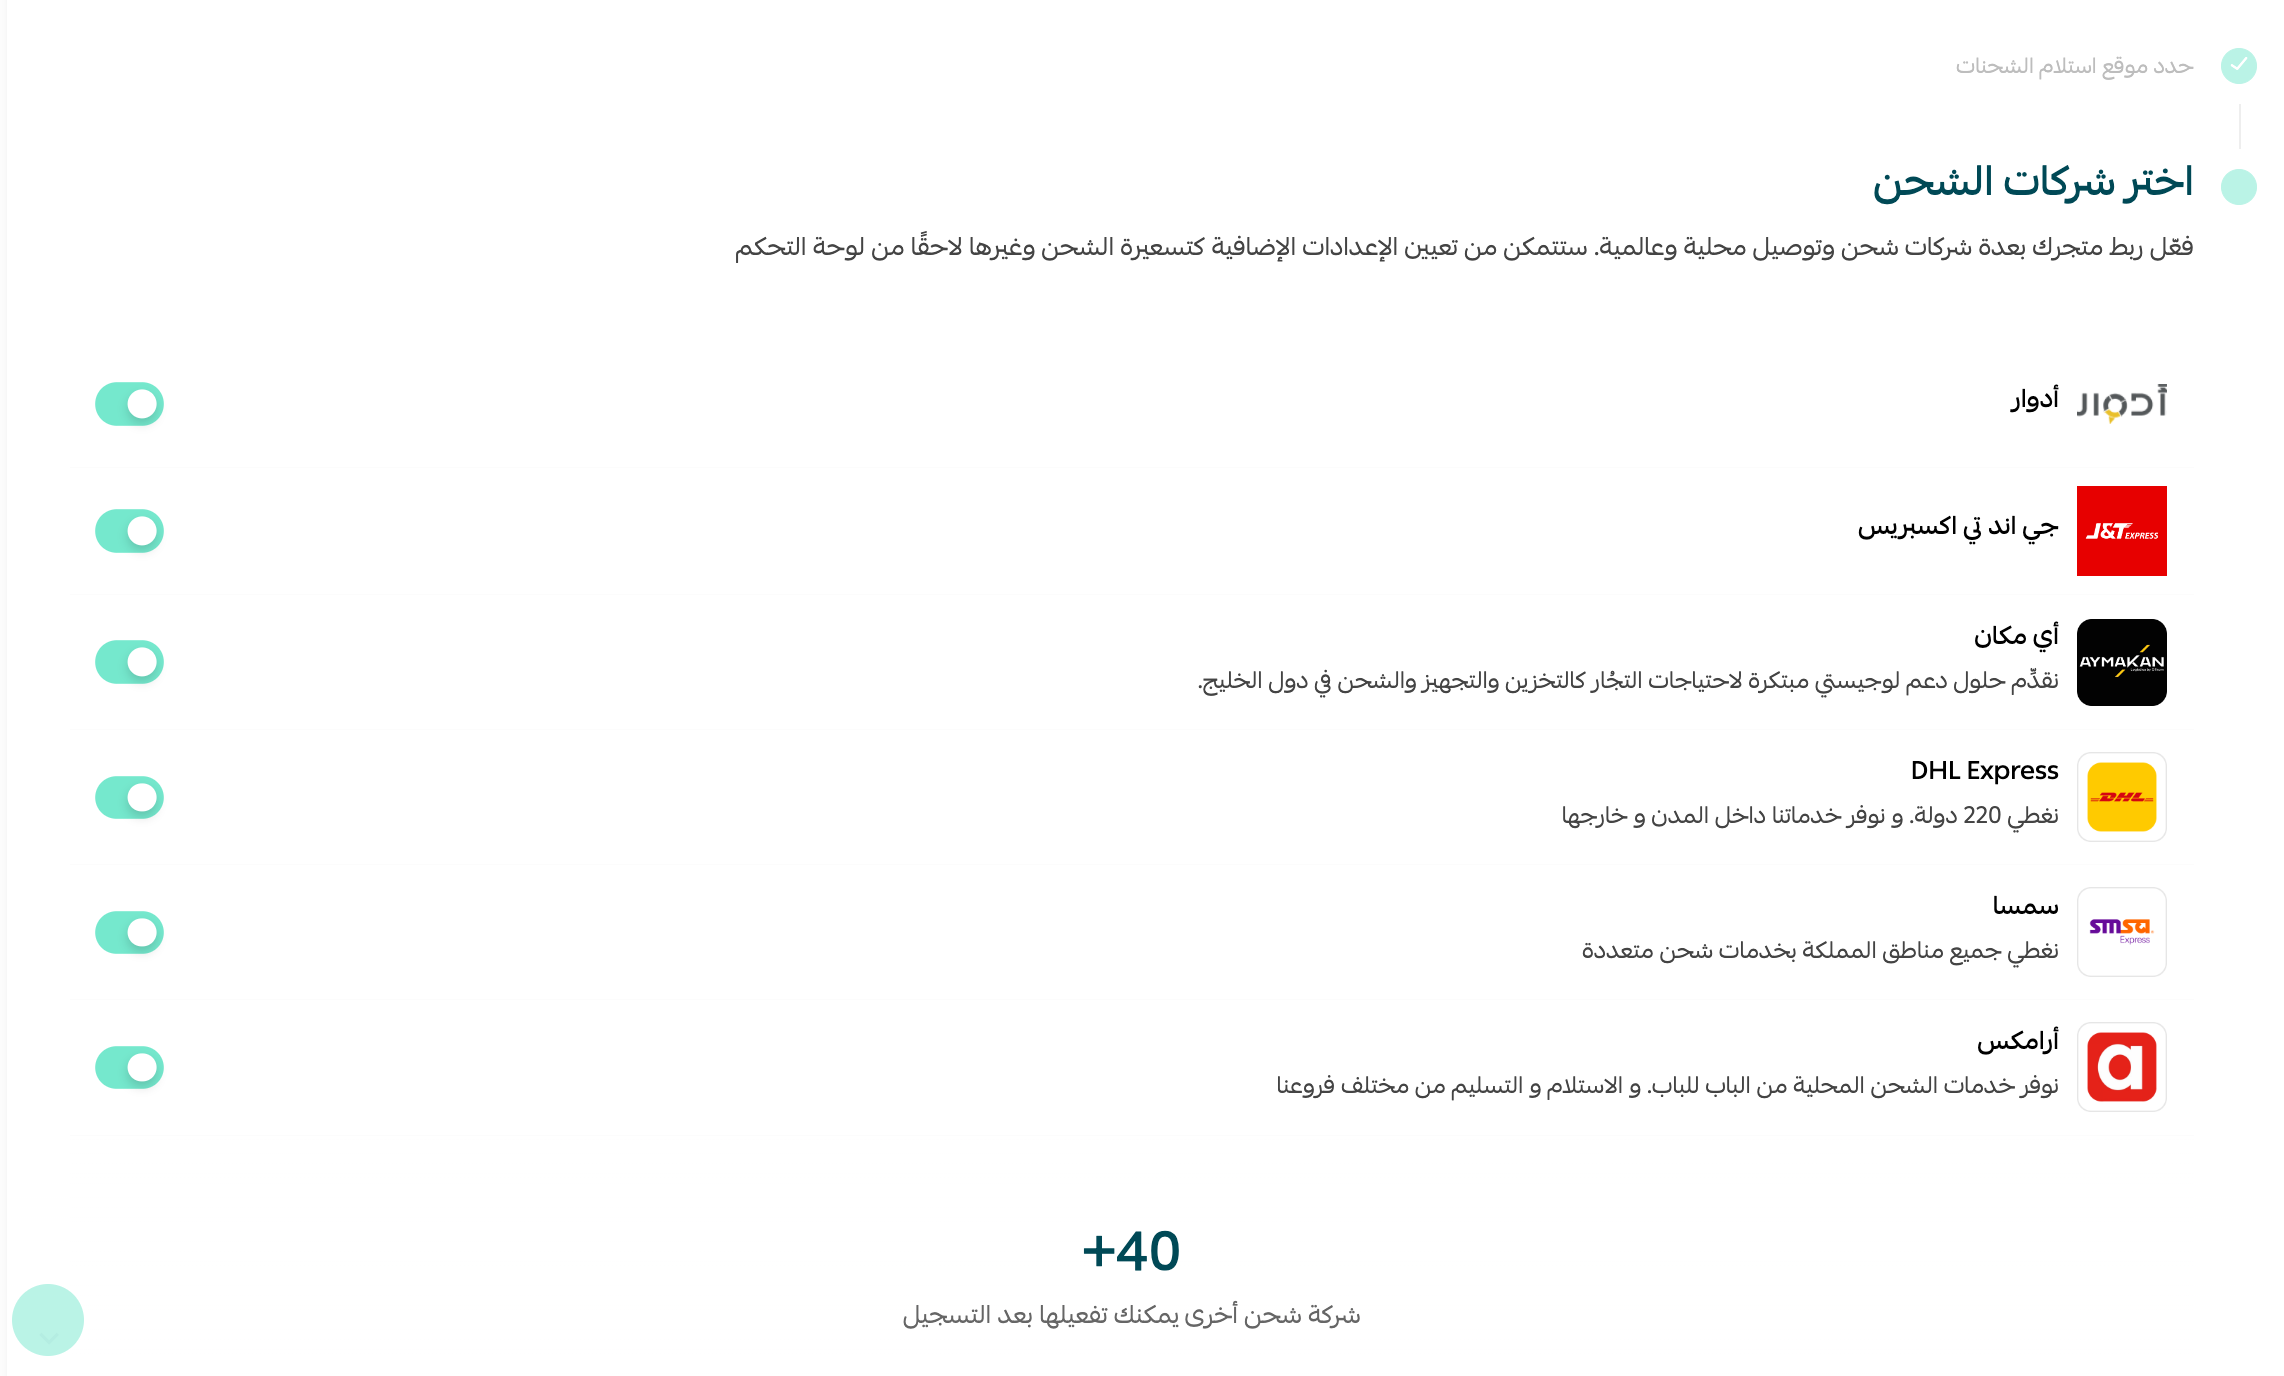
3. Activating shipping options
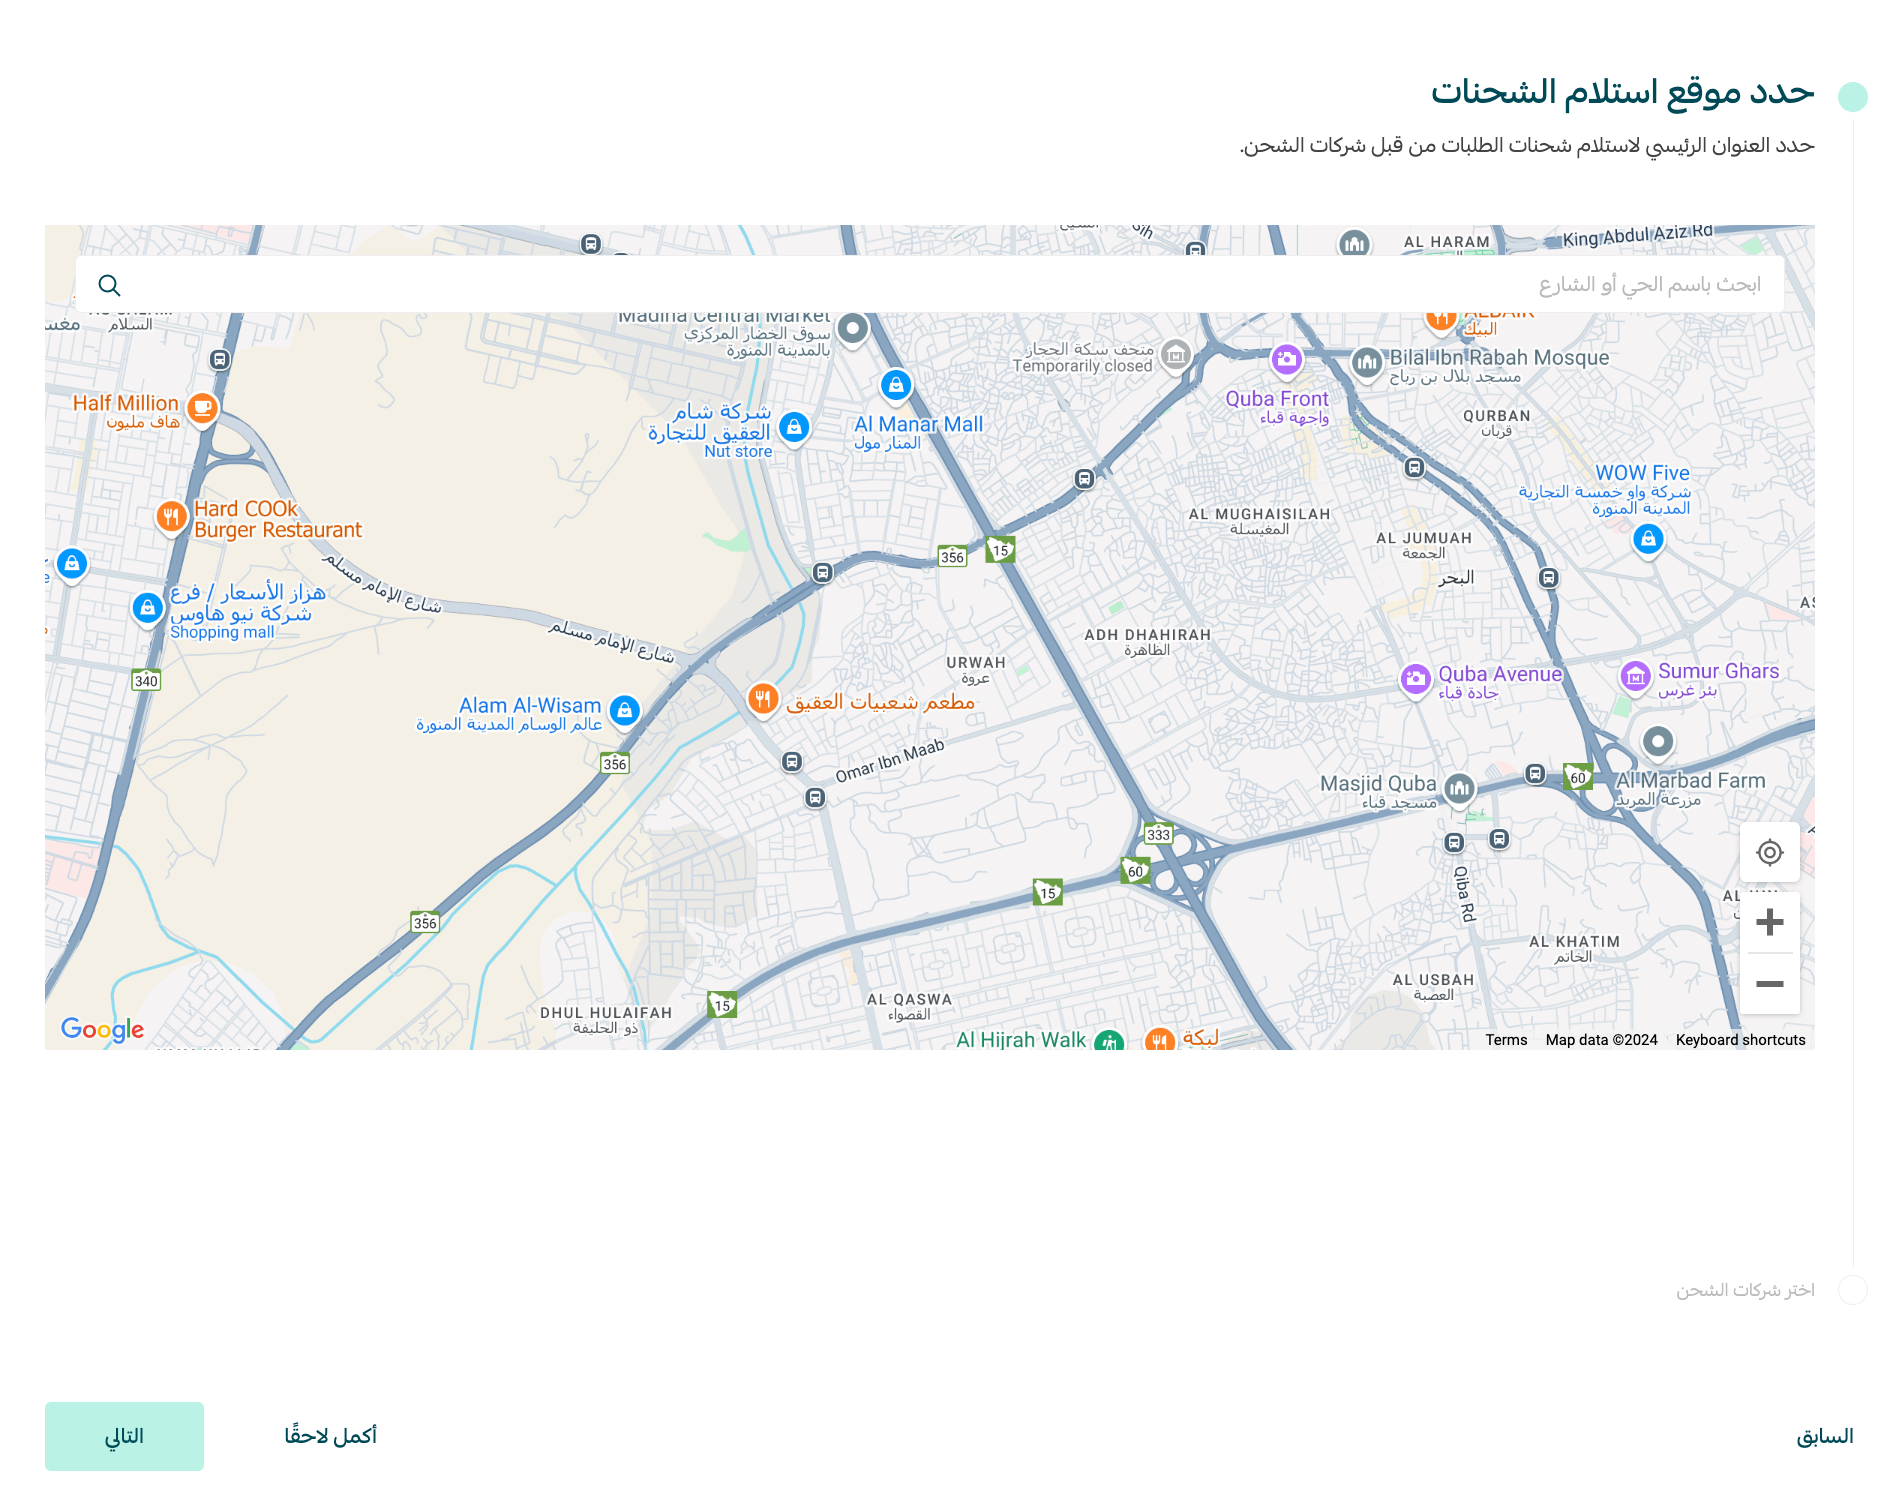
1. Set the shipment pickup location using the map shown on the page.
2. From the Salla waybills list, activate the shipping companies that suit you to benefit from shipping facilities and competitive rates — and you can access other companies from the app store.
4. Activating electronic payments
Choose and activate the payment methods between you and your customers.
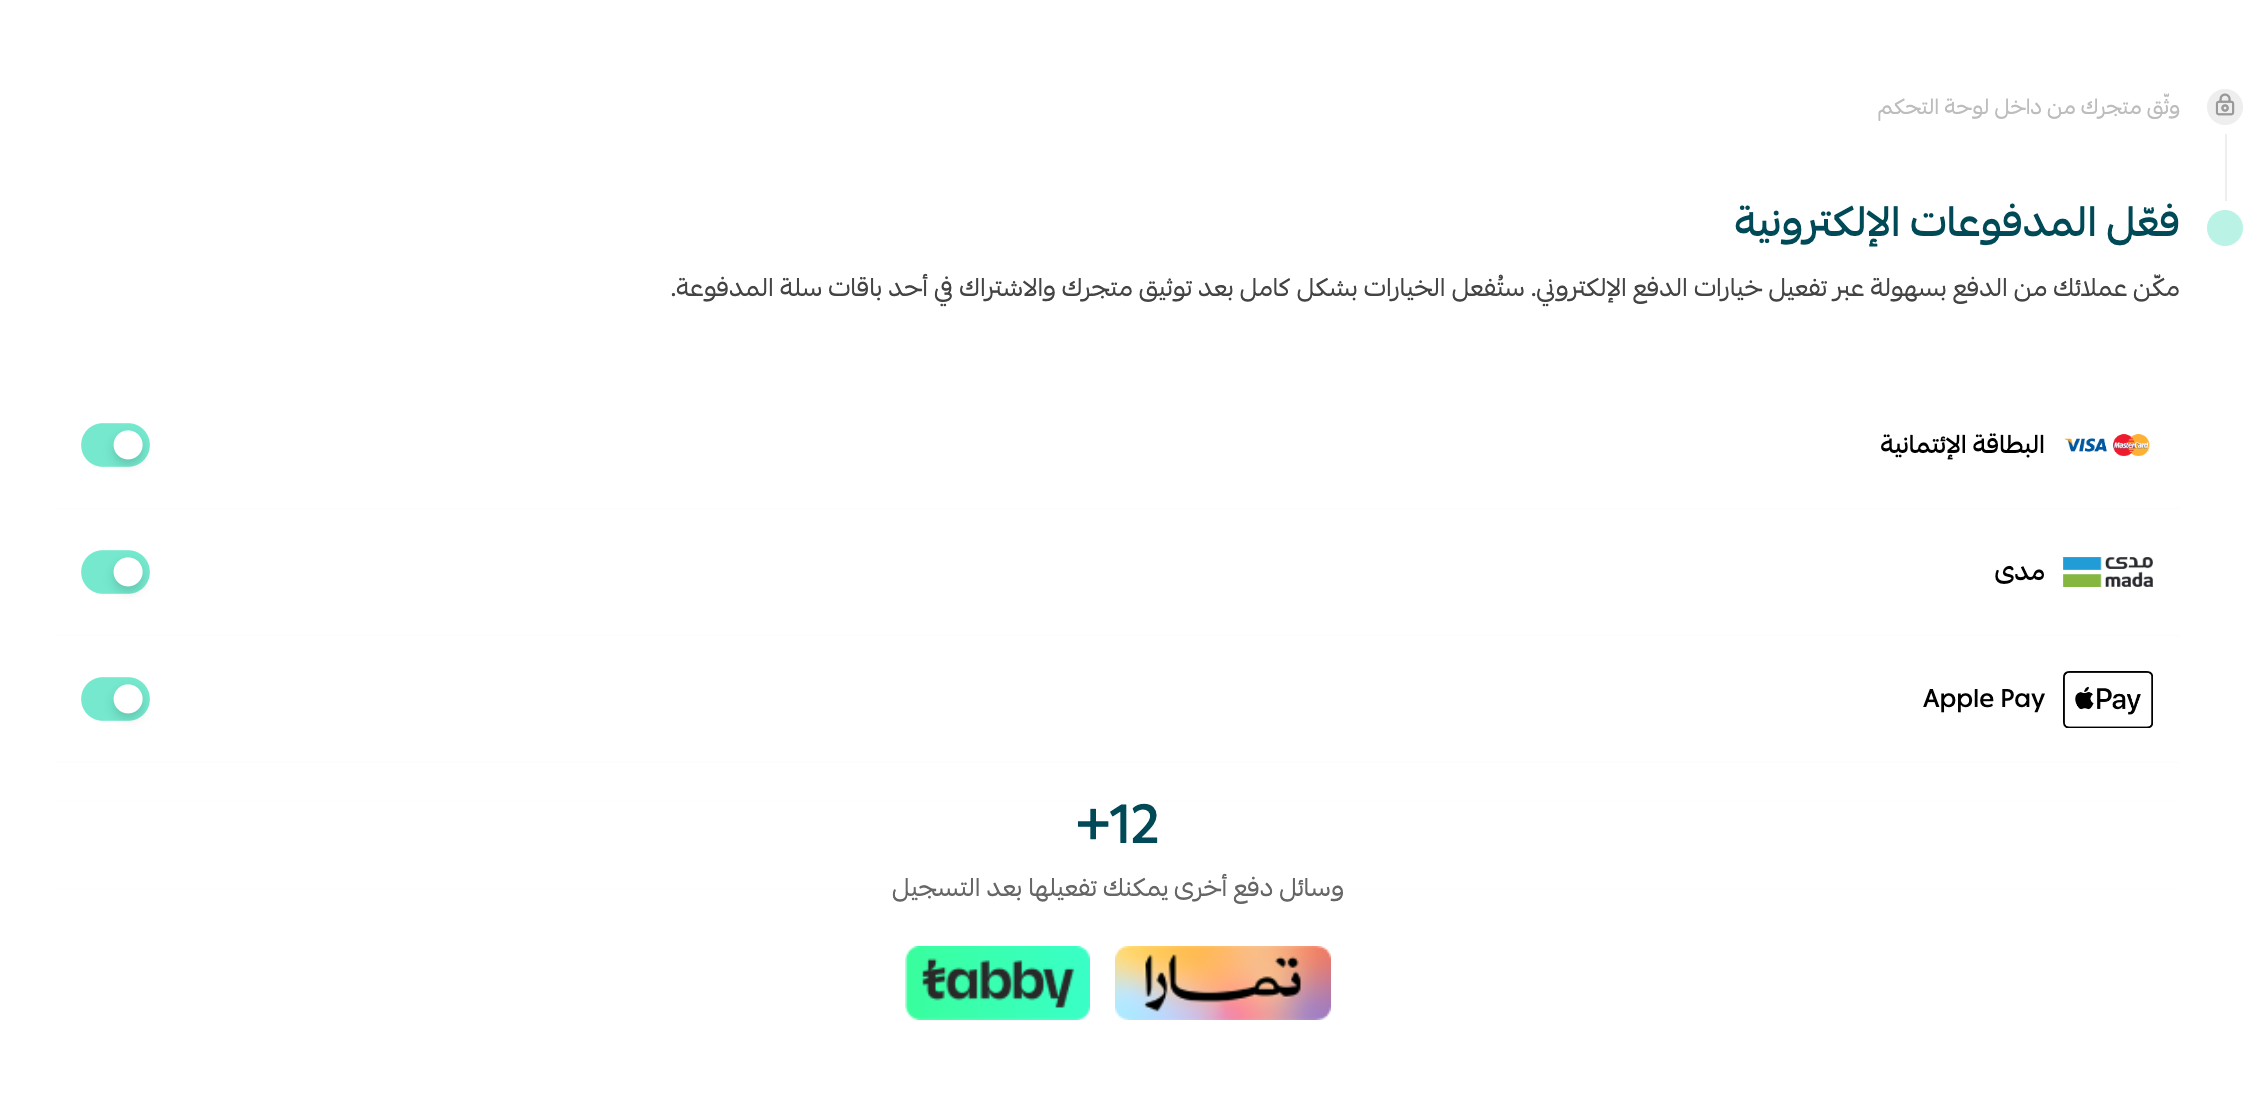
You can start using electronic payment gateways after completing store verification, which is a prerequisite.
5. Choosing a plan
Choose the plan that suits the start of your business, then click Next.
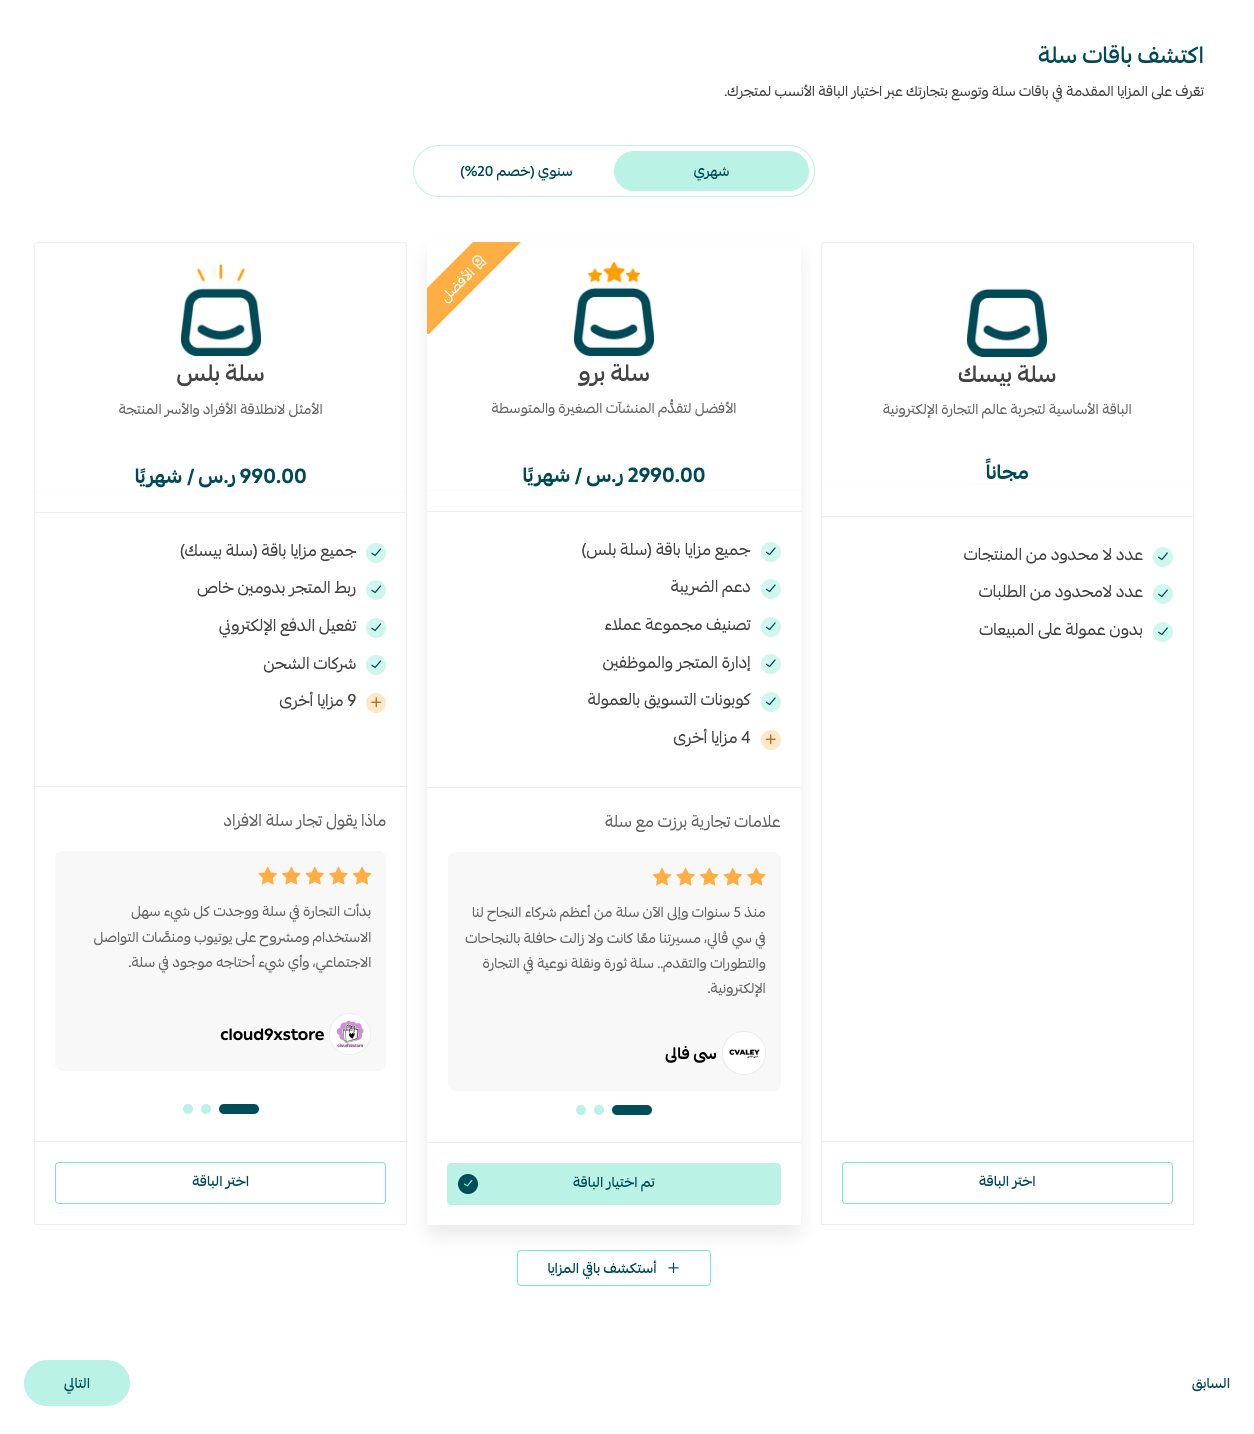
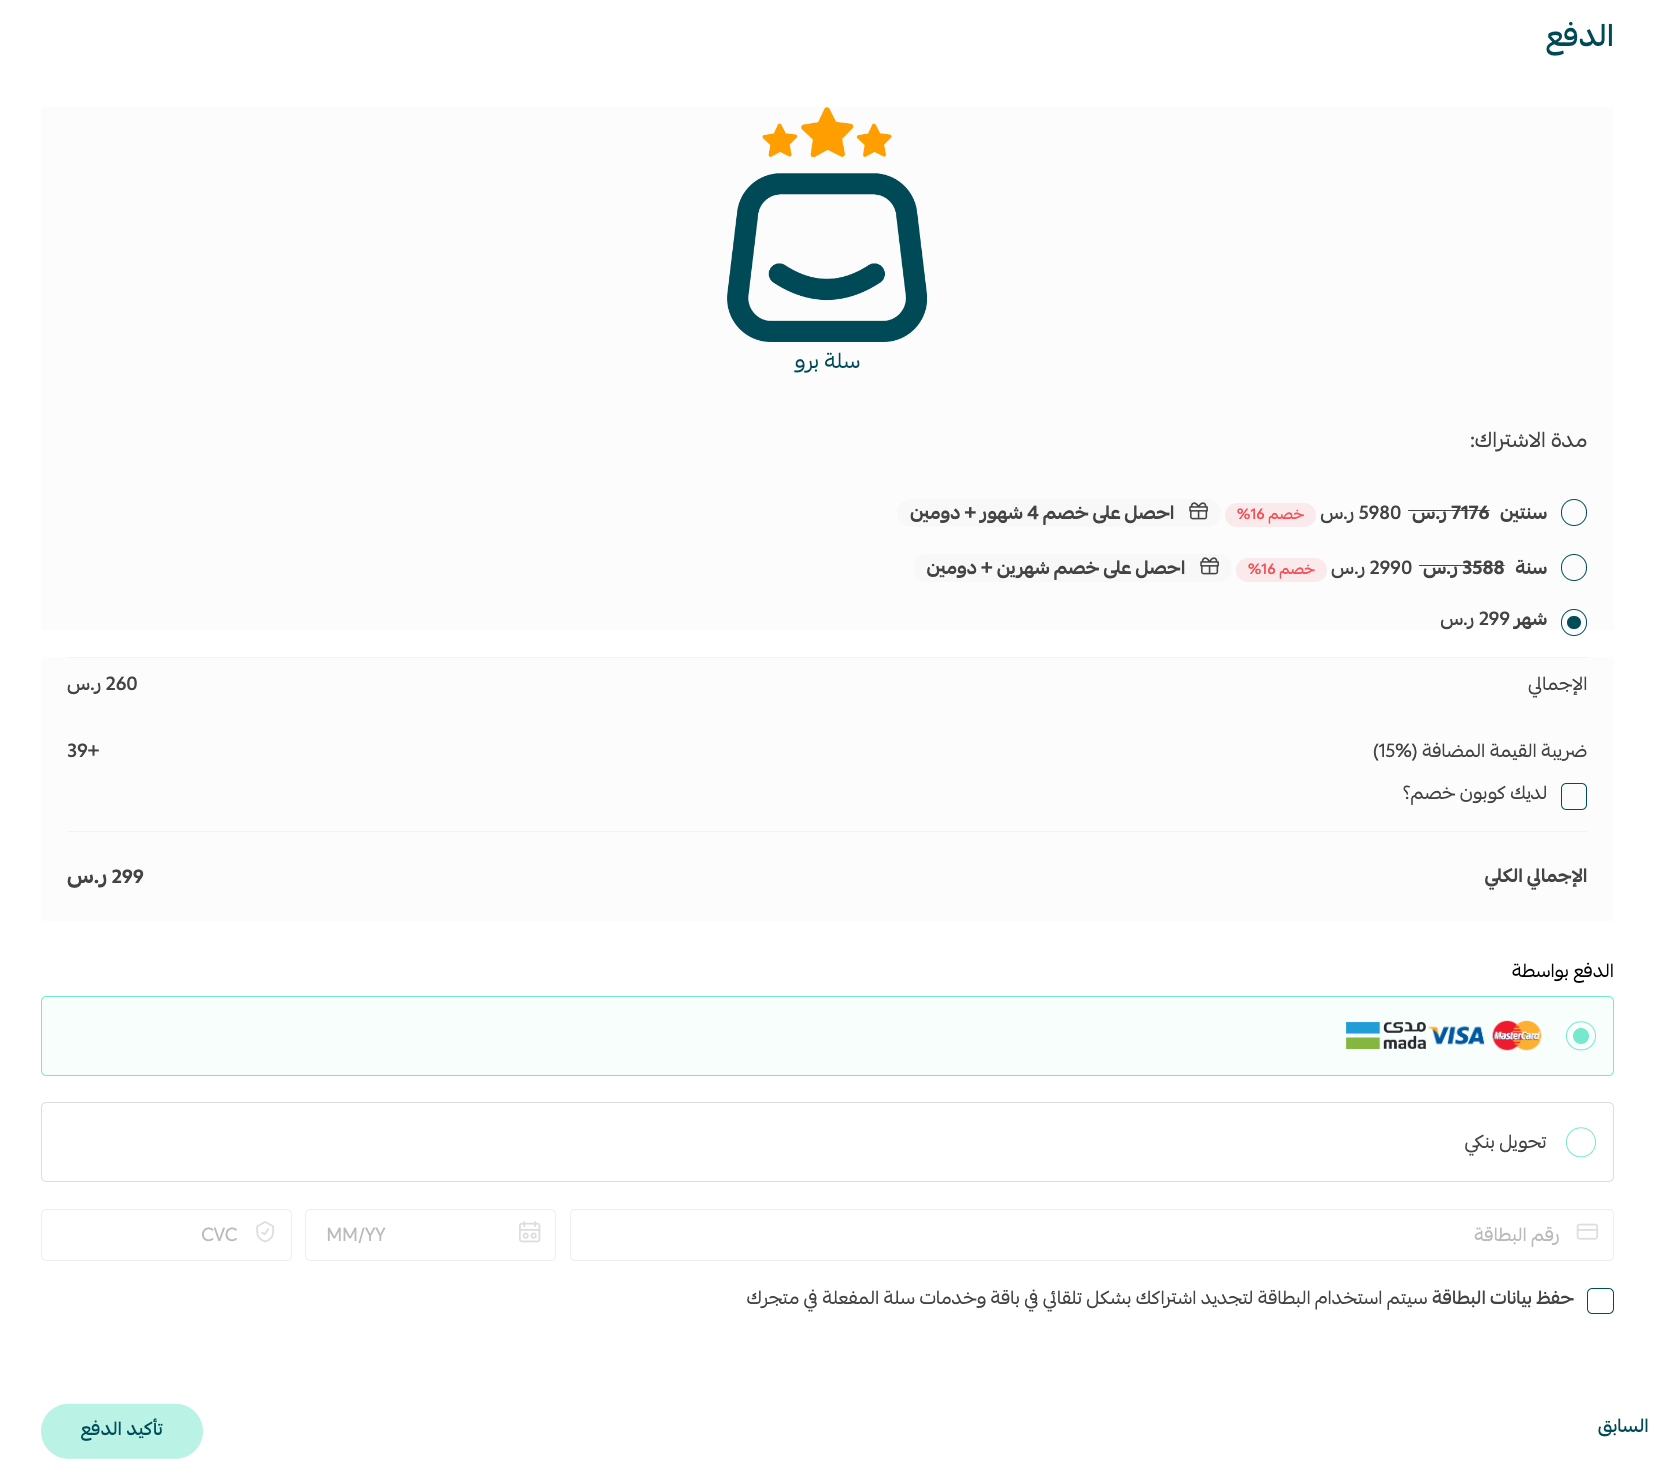
If you choose a paid plan (Salla Plus or Salla Pro), you'll go to the payment page to complete the subscription.
Completing registration and launch requirements
With that, you've completed registration! From the dashboard you can edit any data you entered. To launch the store there are essential requirements you can't skip, and secondary ones you can complete later.
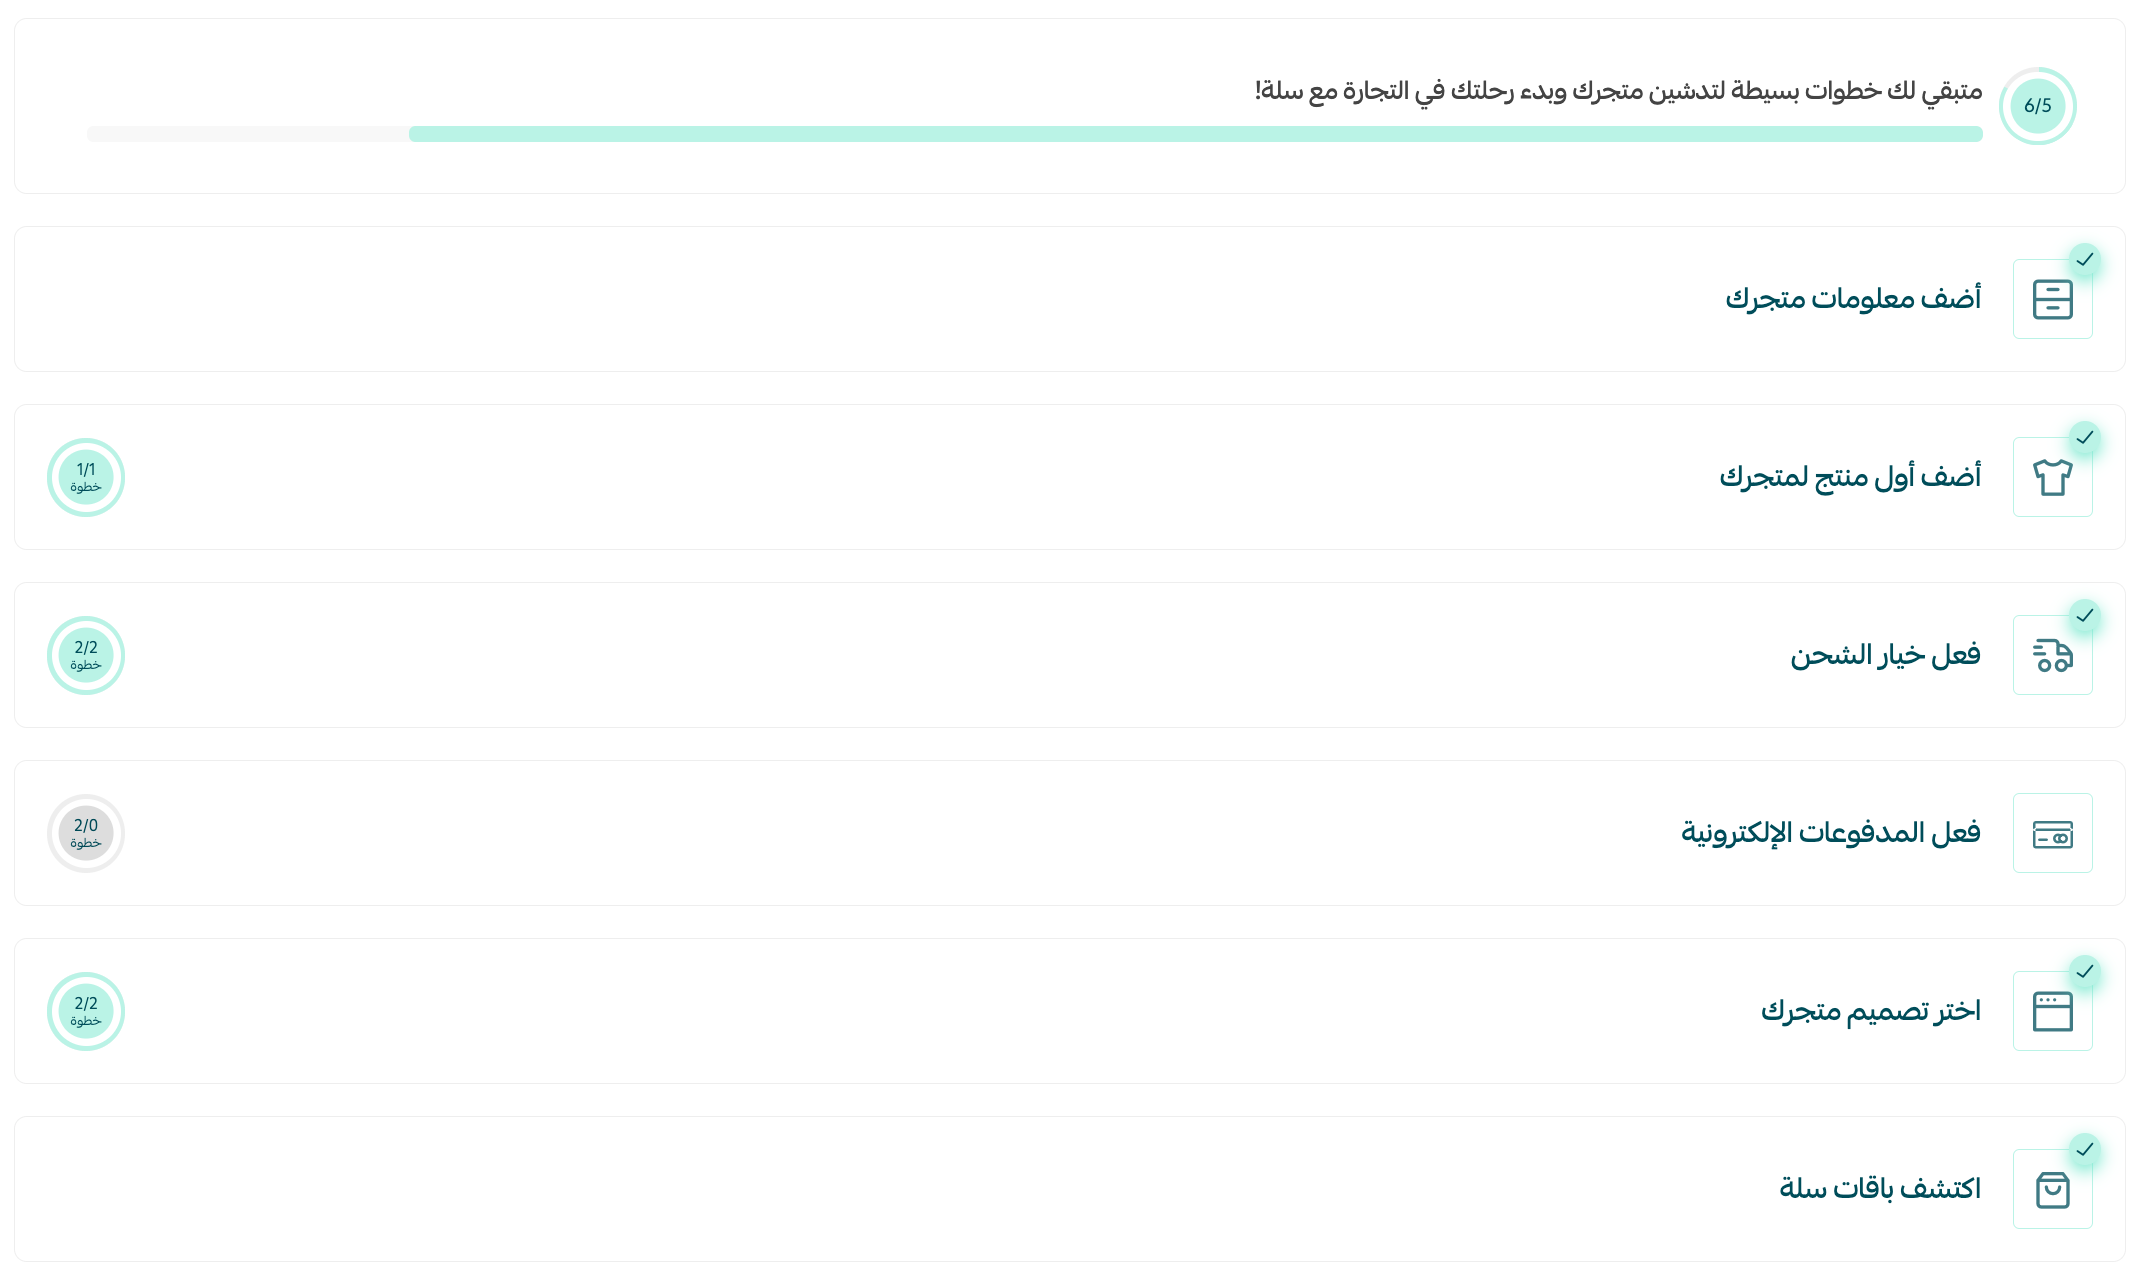
- Essential requirements: store verification, adding your first product, setting the location.
- Secondary requirements: store information, activating shipping, activating payments, customizing the design.
After launch: how customers find you
A ready store isn't enough if no one finds it. The first thing your customer searches for is on Google, and whoever ranks first receives buyers for free every day. After launch we recommend:
- Set up SEO basics: homepage, category and product titles and descriptions — see the store SEO guide.
- Connect the store to Google: via Google Search Console to track your visibility.
- Launch a blog: to catch searchers in the comparison stage — the store blog guide.
At SEOS7 we handle this for you: analyze, optimize, maximize — browse the case studies.
FAQ
What are the essential requirements to launch the store?
Three essential requirements you can't skip: store verification, adding your first product, and setting the location. Store information, activating shipping and payments, and customizing the design are secondary requirements you can complete anytime.
Do I need extra steps to activate electronic payments?
Yes: store verification (a prerequisite for activating payment gateways), upgrading the plan to Salla Plus or Salla Pro, then activating the connection with electronic payment methods.
Can I change my payment integrations after registration?
Yes, from the dashboard click "Store settings" then "Payment methods" to control all payment methods at any time.
Can I change shipping companies after registration?
Yes, from "Store settings" then "Shipping and delivery options" you can control all Salla waybills and shipping and delivery company options.
What product types are available on the basic plan?
The basic plan lets you add ready (physical) products only. To upgrade to other types (digital products, cards, food, made-to-order, product bundles, bookings) you need the Pro or Plus plan.
Launched your store and want it to rank on Google and bring you sales? The SEOS7 team prepares your new Salla store for visibility from day one. Request a free SEO audit for your store — results within 48 hours, no strings attached.